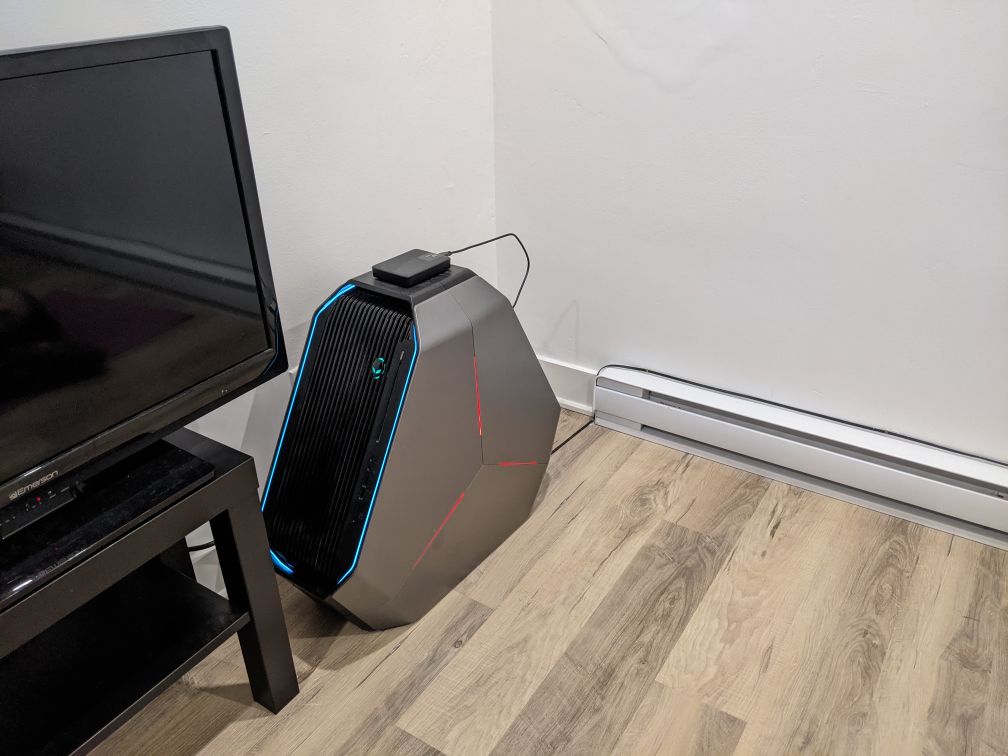
I host several services on an Alienware gaming computer I keep at my apartment. (We call it the spaceship.) I originally got the computer so I could have a computer with a GPU for machine learning projects, but I’ve since started using this computer to host a bunch of different services. Here I’ve documented how I set up the server.
operating system
To keep things simple I use Ubuntu 20.04 LTS. Here’s a speedy way I’ve found to write installer ISOs to USB drives for installation:
sudo fdisk -l  # find the path (e.g. "/dev/sda") of the USB device
sudo dd bs=4M if=path/to/downloaded.iso of=/dev/sda
I run all of my services in Docker, and for GPU-enabled services I’ve set up the Nvidia Docker runtime. You can see how I installed that here.
boot settings
I’ve set up the server to boot automatically when power is regained after an outage. I did this in the Alienware BIOS settings by going to Advanced Settings -> AC Recovery and setting it to “On”.
I also have Wake-on-LAN (WoL) enabled for cases where the server has shut down for reasons besides power loss:
sudo ethtool enp6s0  # the NIC for my particular ethernet card. This command should list the letter "g" under "Supports Wake-on"
sudo ethtool -s enp6s0 wol g  # set it to allow Wake-on-LAN
sudoedit /etc/systemd/system/wol.service  # add the systemd configuration below so that the "g" is set at startup
sudo systemctl daemon-reload
sudo systemctl enable wol
sudo systemctl start wol
[Unit]
Description=Configure Wake On LAN

[Service]
Type=oneshot
ExecStart=/sbin/ethtool -s enp6s0 wol g

[Install]
WantedBy=basic.target
You can send a WoL magic packet from a different computer on the local network with etherwake <MAC address>.You can find the MAC address by running ip link show | grep enp6s0 -A1.
One day I’d like to get a UPS with apcupsd support.
remote disk unlocking
I have encrypted the boot drive with LUKS, so in case of an unexpected reboot while I’m away I’ve set up remote unlocking (source):Note that here I’m copying the authorized_keys file from my normal SSH folder to the dropbear config folder, allowing any device that can log into my server as me to also log into the dropbear instance. You may want to further restrict access.
sudo apt install dropbear-initramfs
sudo sed -ir 's|#DROPBEAR_OPTIONS=.*|DROPBEAR_OPTIONS="-p 23 -s -j -k"|' /etc/dropbear-initramfs/config
sudo cp .ssh/authorized_keys /etc/dropbear-initramfs/
sudo update-initramfs -u
The dropbear version that comes with dropbear-initramfs currently uses a key comparison algorithm that is disabled by the latest SSH clients, so I have to add PubkeyAcceptedKeyTypes +ssh-rsa to my client SSH config in order to connect. Here’s what my SSH config looks like for connecting to dropbear:
Host decrypt_spaceship
	Hostname <ip address>
	Port 23
	User root
	PubkeyAcceptedKeyTypes +ssh-rsa
In order to get the fingerprint of the dropbear host key, run the following on the server when logged into Ubuntu:
sudo dropbearkey -y -f /etc/dropbear-initramfs/dropbear_ecdsa_host_key
That will print the SHA1 fingerprint of the ECDSA host key used by dropbear, which you can then compare with the fingerprint provided by connecting to dropbear with ssh -o "FingerprintHash sha1" <server hostname>. That will provide the fingerprint in text format, which you can convert for comparison by running this:
echo "MvNwpNyBnzkV4OqoQ6PWfxYji+w" | base64 --decode \
    | od --format=x2 --endian=big --width=20 | cut -d " " -f 2- | head -1
Now you know that you’re connecting to the server you think you are.
Now whenever the server reboots I SSH into the dropbear instance, run cryptroot-unlock, and provide the decryption key.Note that if you shut down the server from inside the dropbear instance instead of booting into Ubuntu, Wake-on-LAN will not be enabled for the next boot because the Systemd service didn’t have a chance to run.
other encrypted drives
You can follow this guide to set up other encrypted drives to unlock automatically on boot. In that guide the key file is placed in /root. Wherever you choose to put it, be sure that location is itself on an encrypted drive, otherwise someone with physical access to your machine could read the key file and decrypt the encrypted drive.
Systemd and Docker
I run everything with docker-compose, so I borrowed a systemd service file from this guide so that the services are started when the computer boots up. It starts the containers with docker-compose and then uses a script to wait for the NGINX container to start responding to requests on port 443. To set this up, copy these three files to where your docker-compose.yml is.
wget https://raw.githubusercontent.com/vishnubob/wait-for-it/master/wait-for-it.sh \
    -O wait-for-it.sh
chmod +x wait-for-it.sh
wget /post/self-hosting/service.sh
 -O service.sh
chmod +x service.sh
wget /post/self-hosting/services.service
 -O services.service
sed -i "s|/home/kyle/services|$(pwd)|g" services.service
sudo systemctl enable $(pwd)/services.service
Now you can start or stop all of the services with this:
sudo systemctl start services
sudo systemctl stop services
Although I prefer docker-compose {up,down}.
status checks
There is some good self-hosted status check software out there, but then I’d have to be running it on another computer. So I use UptimeRobot (not sponsored), which is free when you monitor less than 50 services. Now when something goes wrong with the server I get notifications from UptimeRobot instead of complaints from friends and family!